


March 27, 2026
Air to Water Heat Pump Installation: 2026 Step-by-Step Guide
Share my #SolaXStory


Installing an air to water heat pump is one of the most effective upgrades for home energy efficiency. However, a successful installation requires precision, the right tools, and adherence to safety protocols.
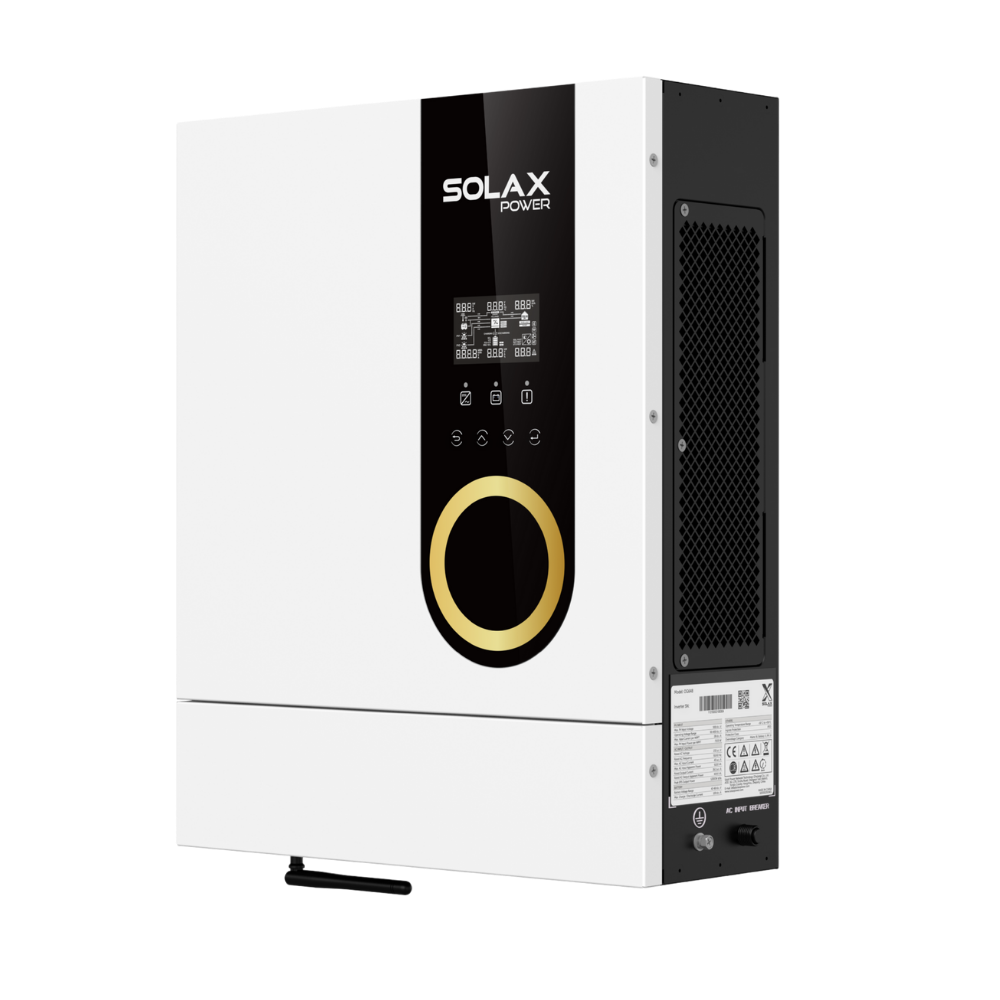
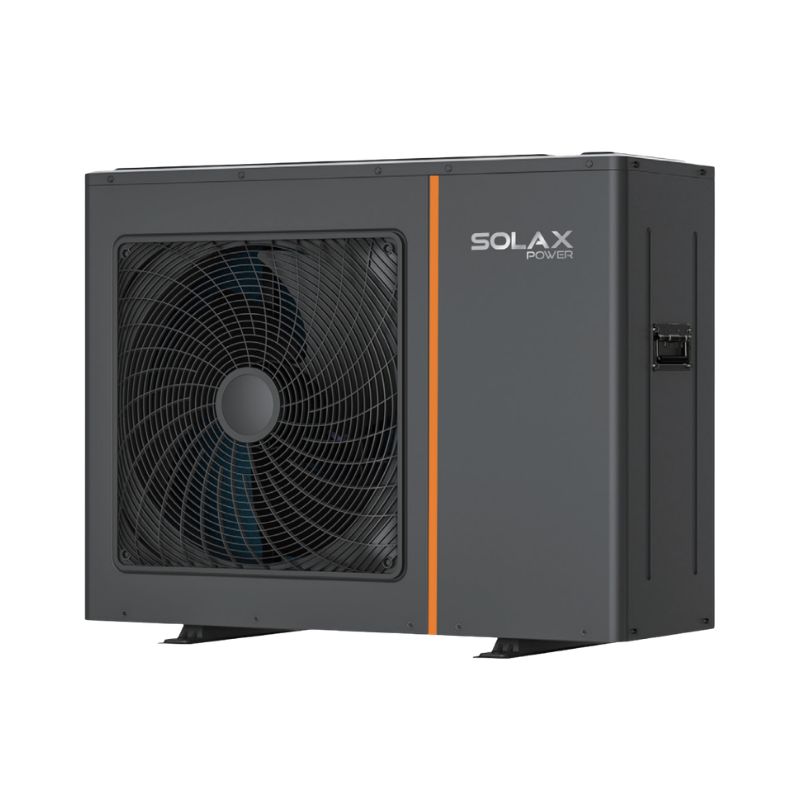
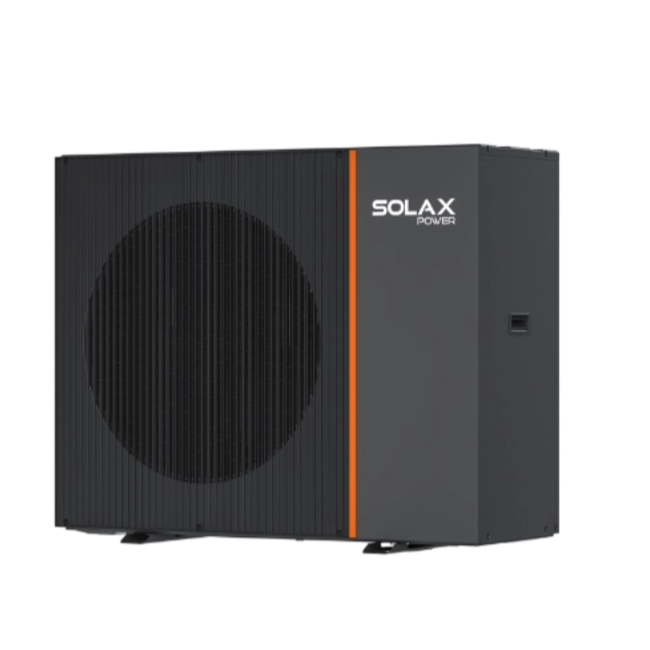
In this guide, we will use the installation of the Solax R290 air-to-water heat pump as a prime example to provide a detailed breakdown of the process.
Safety First: This guide involves working with electrical connections and hydraulic systems. If you are not a certified professional, please consult with a licensed installer to ensure safety and compliance with local building codes.
Watch the Installation in Action
Prefer visual learning? Watch our step-by-step video guide below to see the Solax R290 installation process from start to finish.
Tools You Will Need
Before starting, ensure you have the following ready:
Impact drill (for wall mounting)
Adjustable wrenches
Level (Spirit level)
Teflon tape (PTFE)
Manifold gauge (if checking pressures)
Before Installing an Air to Water Heat Pump
Check the Location: Ensure sufficient airflow, drainage for condensate, and easy service access.
Confirm Infrastructure: Verify a dedicated power supply and the route for the communication cable.
Review Accessories: Always compare the packaged accessories with the manufacturer's list to avoid delays.
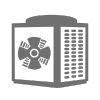
Phase 1: Outdoor Unit Installation
The outdoor unit is the heart of the system, extracting thermal energy from the air. Proper placement and securing are critical to minimize vibration and maximize airflow.

Preparation and Spacing
Before drilling, unpack the unit and strictly verify the accessories against the manufacturer's list.
Ensure the chosen location meets the specific spacing requirements. If placing near a wall or corner, there must be enough clearance for air intake and maintenance access.
Mounting the Unit
A stable foundation prevents noise issues later.
If you are installing air to water heat pump systems on solid ground, prepare two concrete strip foundations.
Place the unit onto these foundations. Align the feet and use a wrench to tightly secure the screws.
Electrical and Communication Wiring
Safety is paramount here. Ensure the power is off before starting.
Connect the main power cables to the designated terminal block and secure them firmly with wire clips to prevent strain.
Thread the communication cable through its specific port. This cable is vital as it sends instructions to the indoor unit.
Final Outdoor Setup
Rotate the exhaust valve one full turn counterclockwise. This prepares the unit for operation.
Install the drain plug and attach the drain pipe to handle condensation, then securely reinstall the cover plate to protect the internal components.
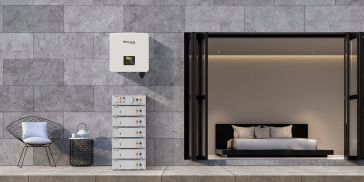
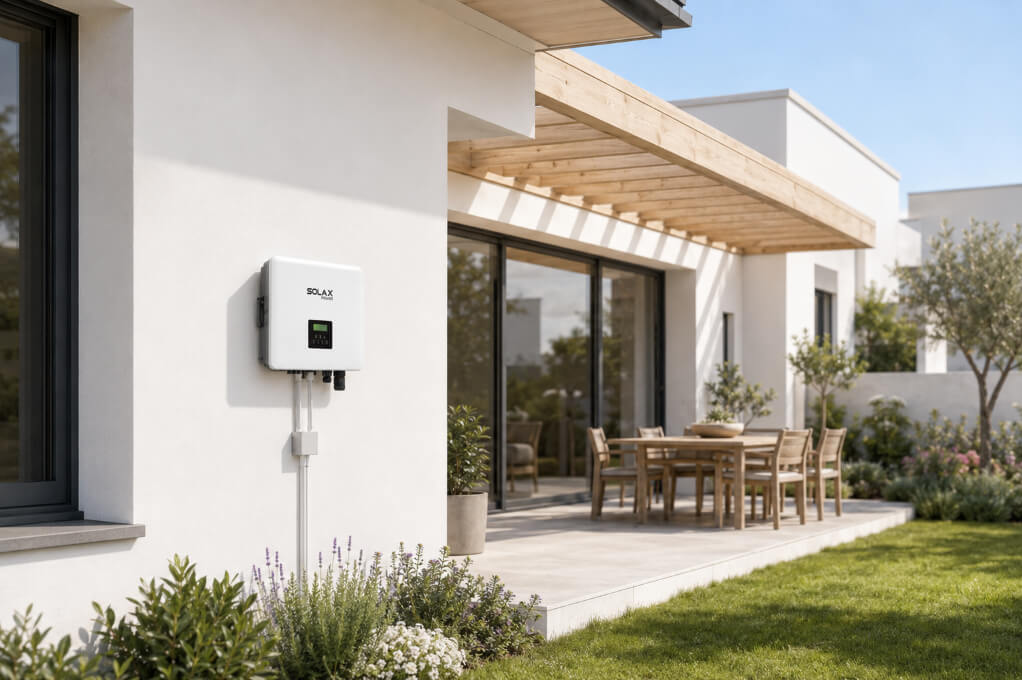
Phase 2: Indoor Unit Installation
The indoor unit manages heat distribution to your radiators or underfloor heating.
Bracket Installation
Positioning is key for hydraulic flow and accessibility.
Select a wall location with a height between 1.5 to 2.0 meters from the floor.
Ensure the bracket is perfectly level. Drill holes to a precise depth of 85 mm and fix the bracket to the wall using heavy-duty expansion bolts.
Mounting the Unit
Lift the indoor unit carefully and hang it onto the bracket lugs.
Double-check that the hanging holes are properly inserted and the unit is secure before letting go.
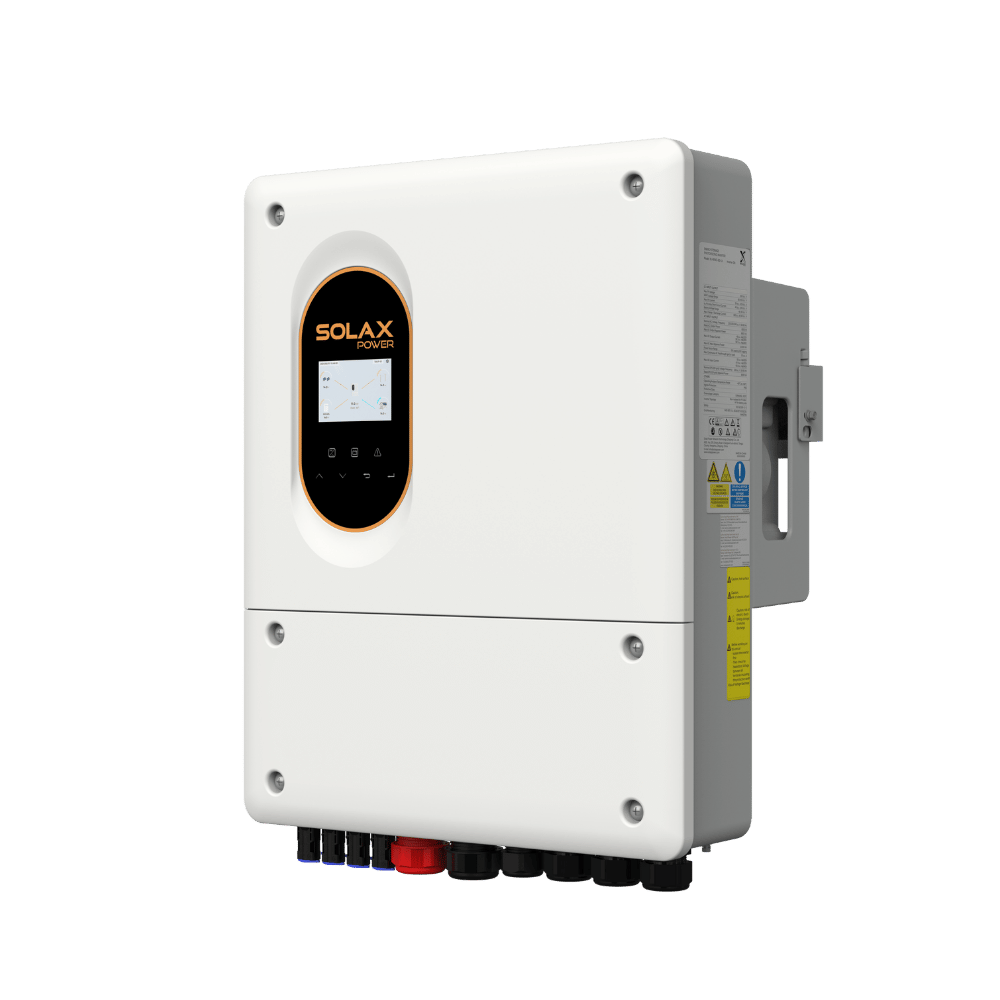
Wiring and System Release
Connect the power and communication cables coming from the outdoor unit to the corresponding terminals on the indoor unit.
Just like the outdoor unit, rotate the exhaust valve at least one full turn counterclockwise to allow air to escape from the system during filling.
Hydraulic Connection
This is where the water cycle begins. Leak-free connections are non-negotiable.
Remove the caps from the inlet and outlet threads. Wrap them generously with Teflon tape (PTFE tape) to ensure a watertight seal.
Connect the appropriately sized water pipes and tighten them securely using a wrench.
Leveling and Completion
Finally, adjust the rubber feet or blocks at the bottom of the indoor unit until it is perfectly level. This ensures quiet operation and proper internal drainage.
After Installation: Testing and Commissioning
Once the physical work is done, do not rush to start the system. Follow this checklist:
System Inspection: Inspect for loose fasteners, cable strain, or visible leaks around valves and piping.
Water Filling: Fill the water circuit and purge trapped air. Verify that the system pressure remains stable.
Functional Testing: Turn on the power. Confirm the indoor and outdoor units communicate correctly, then test the heating function.
Handover: Explain the controls to the user. Store all manuals, commissioning records, and warranty documents in an accessible place.
Common Mistakes to Avoid During Installation
Installing an air to water heat pump is a precision task. Avoid these errors to save time and money:
Insufficient Airflow: Placing the outdoor unit too close to a wall restricts intake, reducing efficiency.
Incorrect Pipe Sizing: Undersized pipes restrict flow, leading to poor heat transfer.
Neglecting Drainage: Failing to install a drain path for defrost water causes dangerous ice buildup in winter.
Weak Wall Mounting: Mounting heavy units on weak walls without proper expansion bolts risks structural failure.
How Long Does Air to Water Heat Pump Installation Take?
The timeline for an air to water heat pump installation varies based on the complexity of the project. A straightforward replacement of an existing unit is relatively fast, whereas a full retrofit that involves upgrading radiators, installing a new hot water cylinder, or modifying pipework will take longer.

Here is a general estimate of the time required:
Installation Type | Estimated Duration |
Simple Unit Replacement | 1 – 2 Days |
Standard Installation (with Cylinder) | 3 – 4 Days |
Complex Retrofit (New Radiators/Pipes) | 5+ Days |
Air to Water Heat Pump Installation Cost
While costs vary by region, a standard air to water heat pump installation cost typically includes the unit price, labor, and additional materials (piping/wiring). For a precise estimate on the Solax R290 system, please Contact Us for a quote.
Ready to Install?
Proper installation is the key to 20+ years of efficient heating. If you need support with the Solax R290 or have questions about the process, reach out to our technical team today.
Table of Contents
Latest News
Explore expert insights, practical guides, and the latest news on SolaX Power.


To the Latest Newsletter
Stay Ahead with the Latest SolaX Updates!
Subscribe
I have read and agree to Privacy Policy and User Terms