


December 23, 2024
How to Install a Solar Power Inverter: A Step-by-Step Installation Guide
Share my #SolaXStory


As the world shifts towards green and sustainable energy solutions, solar power stands out as a leading choice for households and businesses alike. One key component in any solar power system is the solar power inverter like three phase hybrid solar inverter. It plays a crucial role in converting the direct current (DC) energy produced by solar panels into alternating current (AC) energy usable in your home. This blog delivers a practical, step-by-step guide to solar inverter installation, helping you ensure a safe and efficient system setup.
Planning the Installation
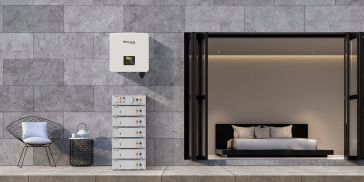
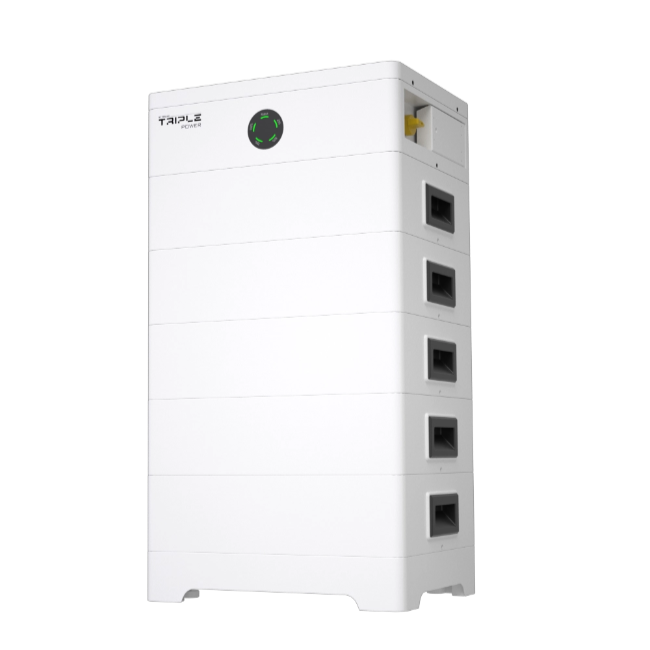
Before diving into the actual solar inverter installation, planning is crucial. Knowing what you need and how to position the components will make the process smoother. You'll need a solar power inverter with battery, solar panels, and necessary wiring and mounting tools.
Assess Your Needs
Determine the energy requirements of your home or business. This will help you decide on the size and type of solar inverter needed.
Choose the Location
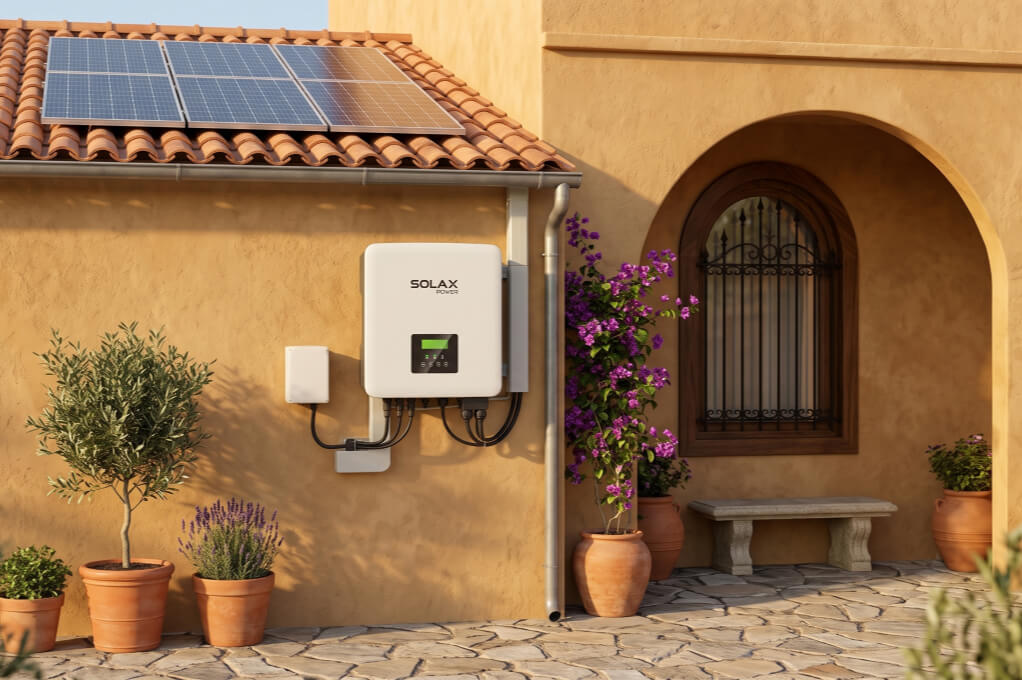
Decide where the inverter will be installed. Inverters should ideally be installed in a cool, dry, and well-ventilated area to ensure efficiency and longevity. Proximity to the main distribution panel is also essential for minimizing power loss.

Mounting the Solar Panels
Once your planning is complete, the next step is mounting the solar panels.
Choose the Right Angle and Position
Solar panels should be installed at an angle that maximizes exposure to sunlight. The positioning may vary based on geographic location.
Secure the Panels
Use the mounting kit to safely secure the solar panels to the roof or another sturdy structure. Ensure that all bolts and screws are tightened securely to withstand wind and other weather conditions.
Connect the Panels
Wire the solar panels together as per the manufacturer's instructions. Typically, solar panels are connected in series or parallel configurations, depending on your specific inverter and power needs.
Installing the Solar Power Inverter
Now comes the most critical step: solar inverter setup.
Safety First
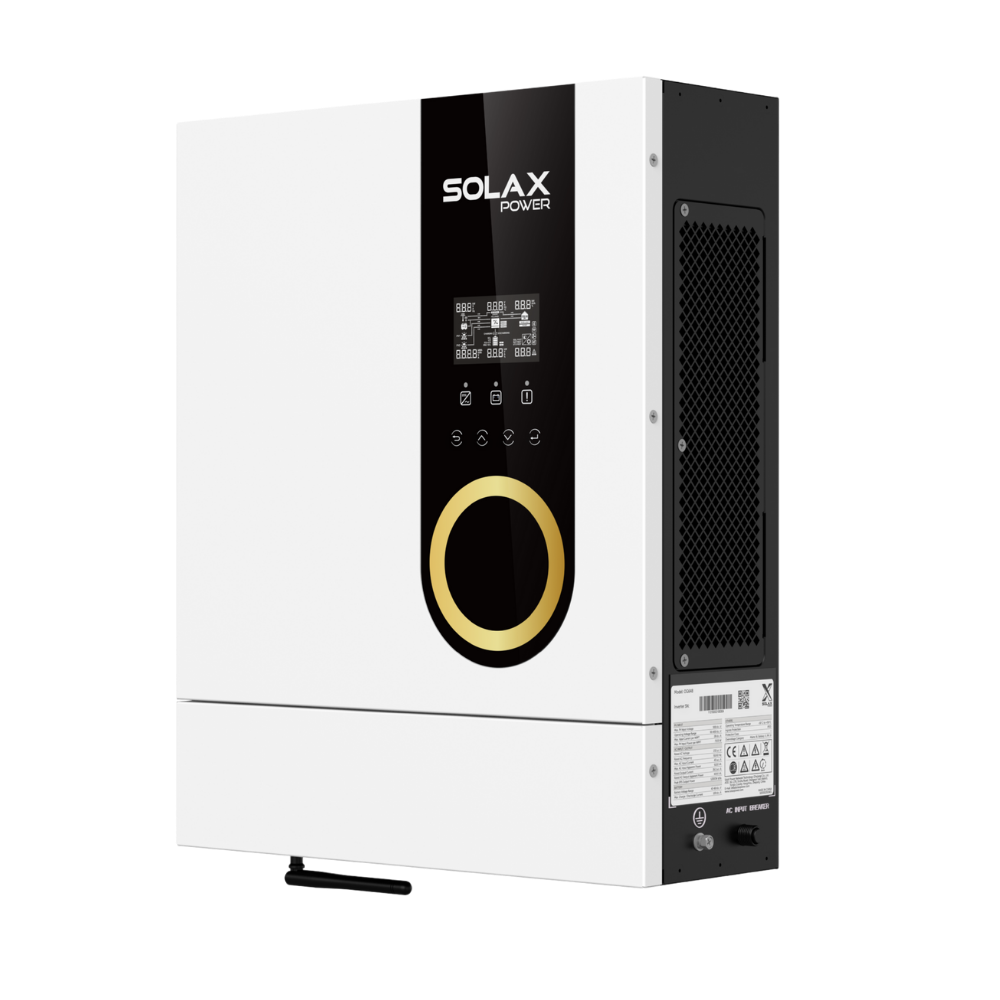
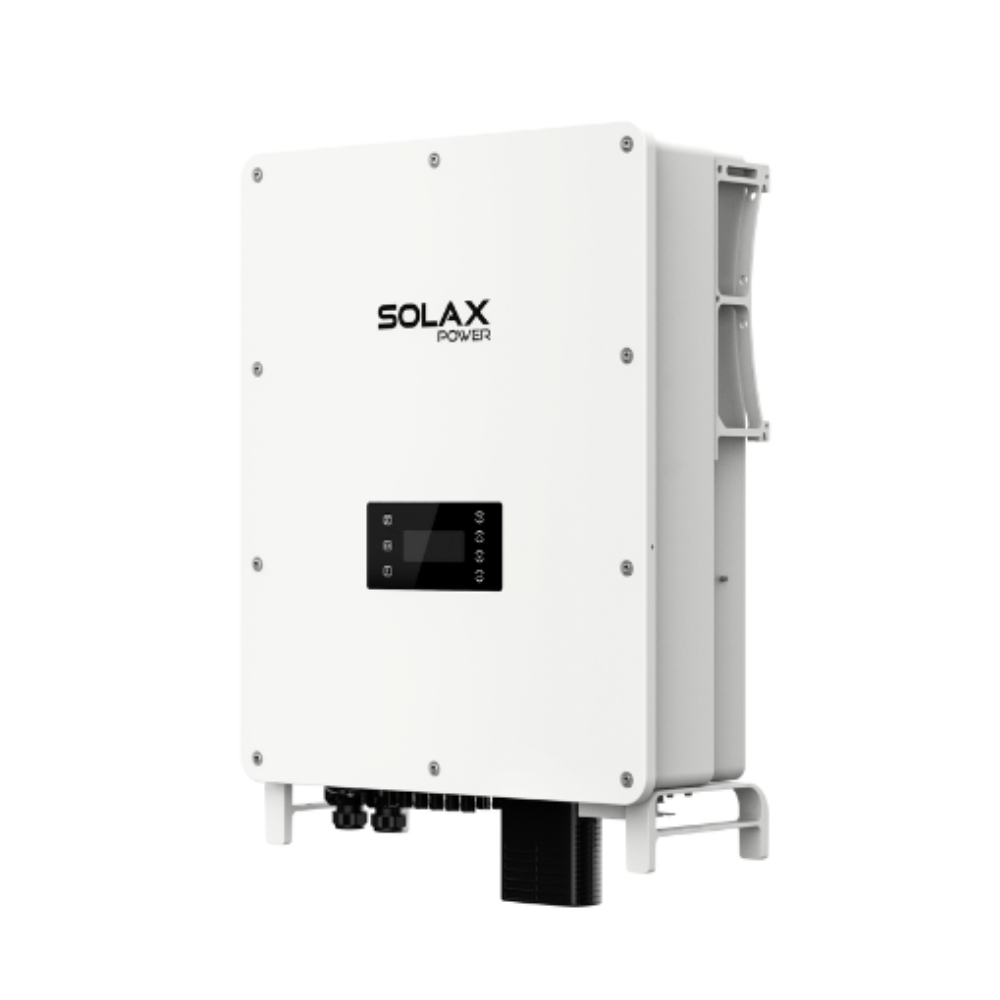
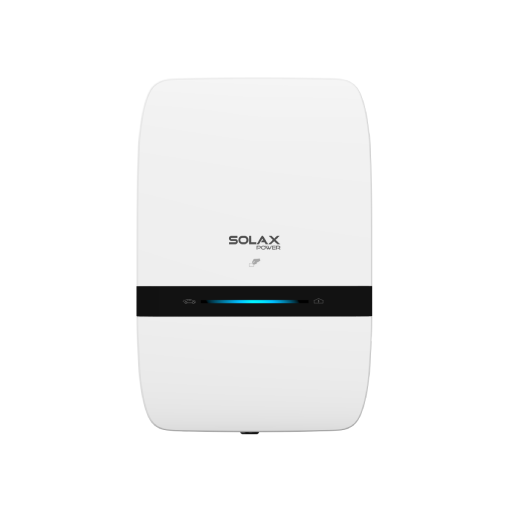
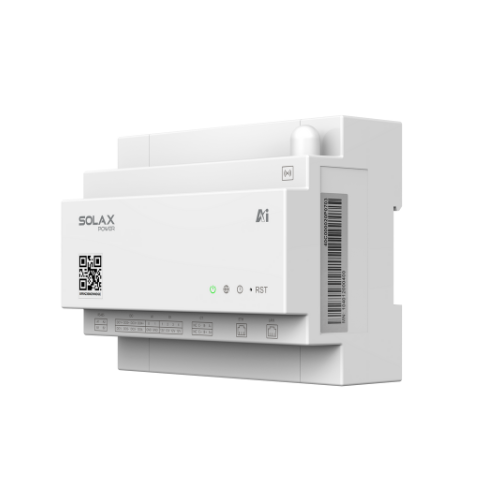
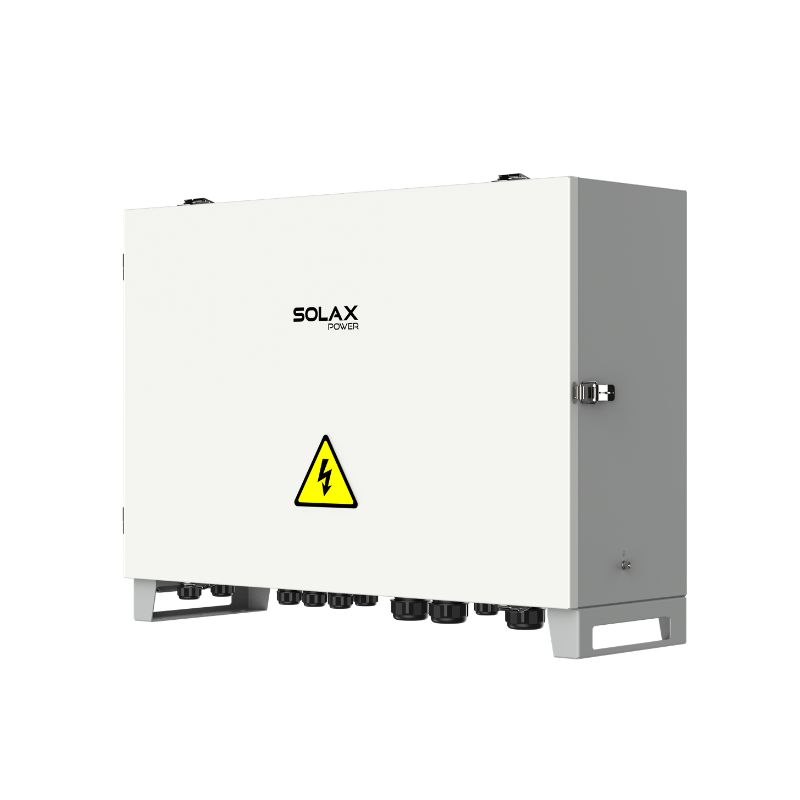
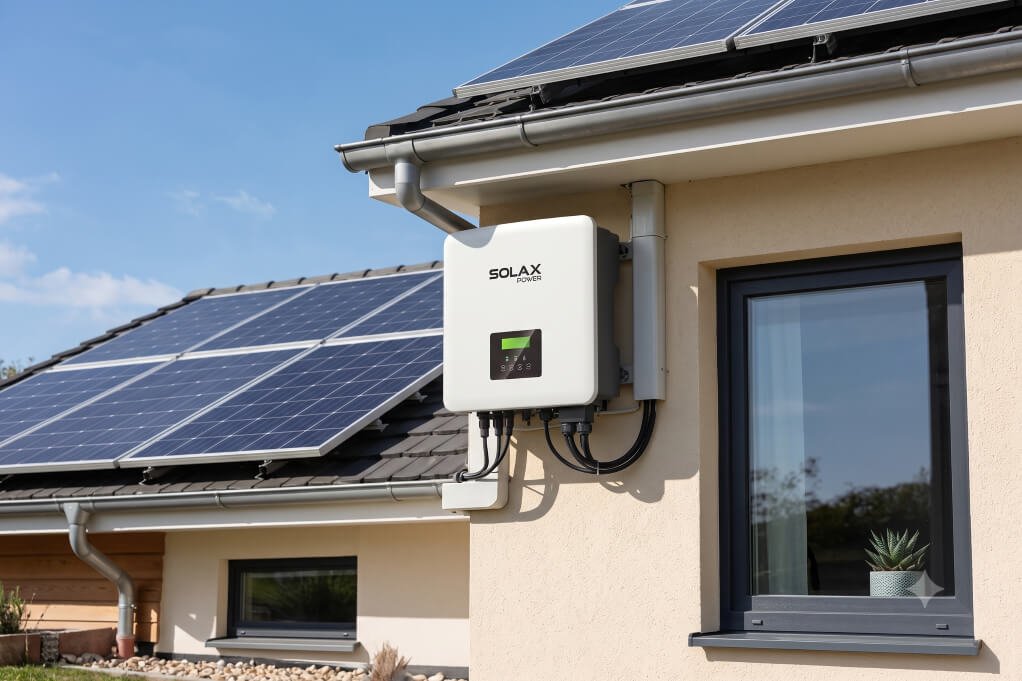
Before starting, turn off the main power supply and wear proper safety gear, such as gloves and goggles. Our SolaX inverter integrates Type II Surge Protection Devices (SPD) on both the AC and DC sides, providing robust protection against surges from lightning or grid fluctuations. Proper installation ensures system reliability and safety.
Mount the Inverter
Secure the inverter to the wall or designated location using the provided mounting brackets. Ensure it is installed at an accessible height for easy maintenance. With its advanced MPP scanning feature, our inverter can quickly adjust operating parameters to maximize energy output under varying light conditions, such as cloud movement or partial shading. Proper mounting not only ensures safe and stable operation but also allows the inverter to perform at peak efficiency.
Wiring the Inverter
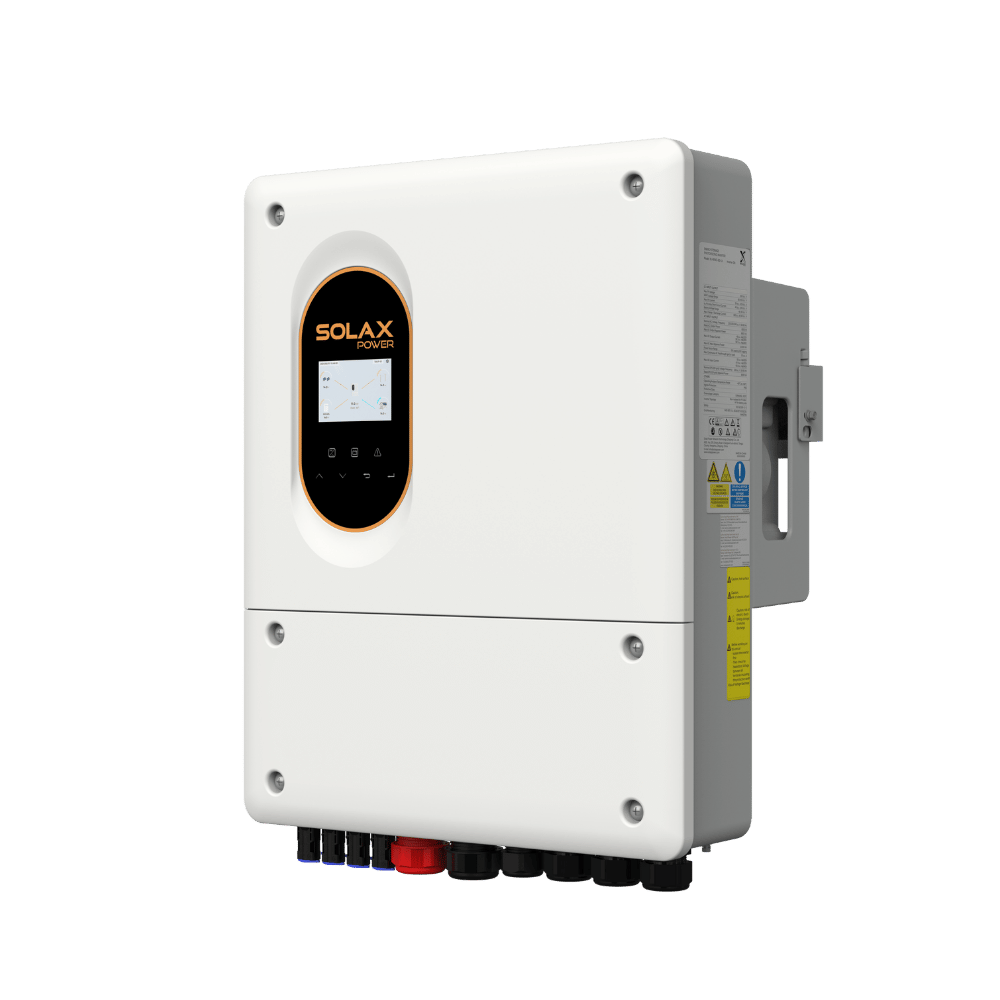
When connecting solar panels to inverter DC inputs, locate the designated terminals on the unit. Proceed with the home inverter installation by linking the AC output to the main distribution panel, utilizing code-compliant conduits and connectors for all connections.
Grounding
Proper grounding is essential for the safety and functionality of your solar system. Follow the manufacturer's guidelines to ensure the inverter is correctly grounded.
System Testing and Inspection
Completing the installation doesn't mean the job is done. Thorough testing and inspection are paramount to ensure the system is operational and safe.
Initial Power-On
Once all connections are in place, turn on the inverter. Watch for any error messages or indicators that suggest problems.
Monitor Performance
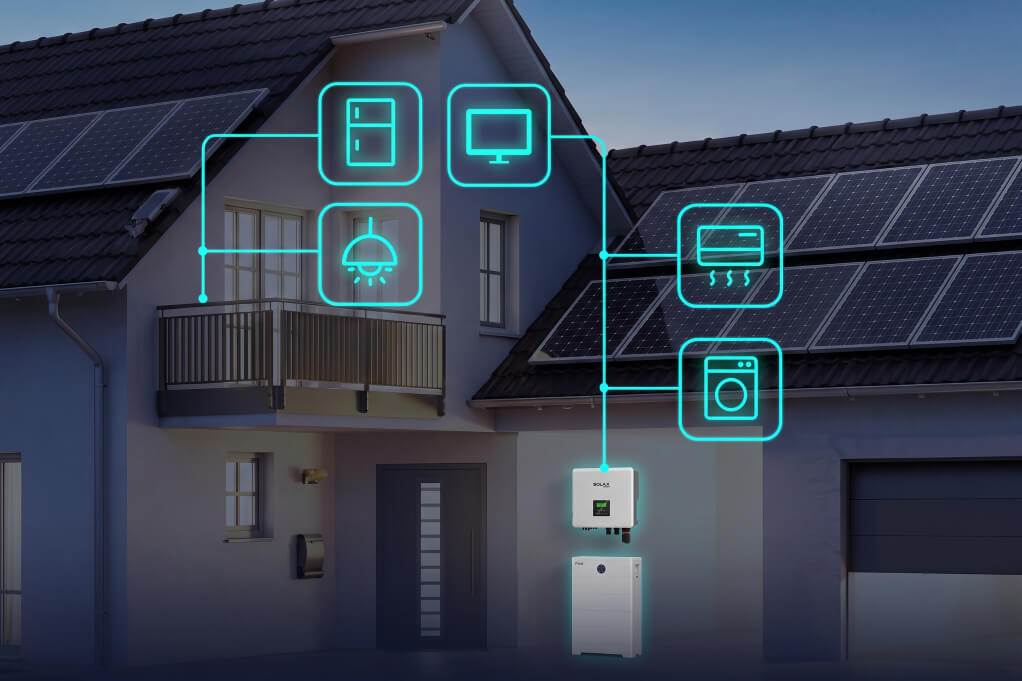
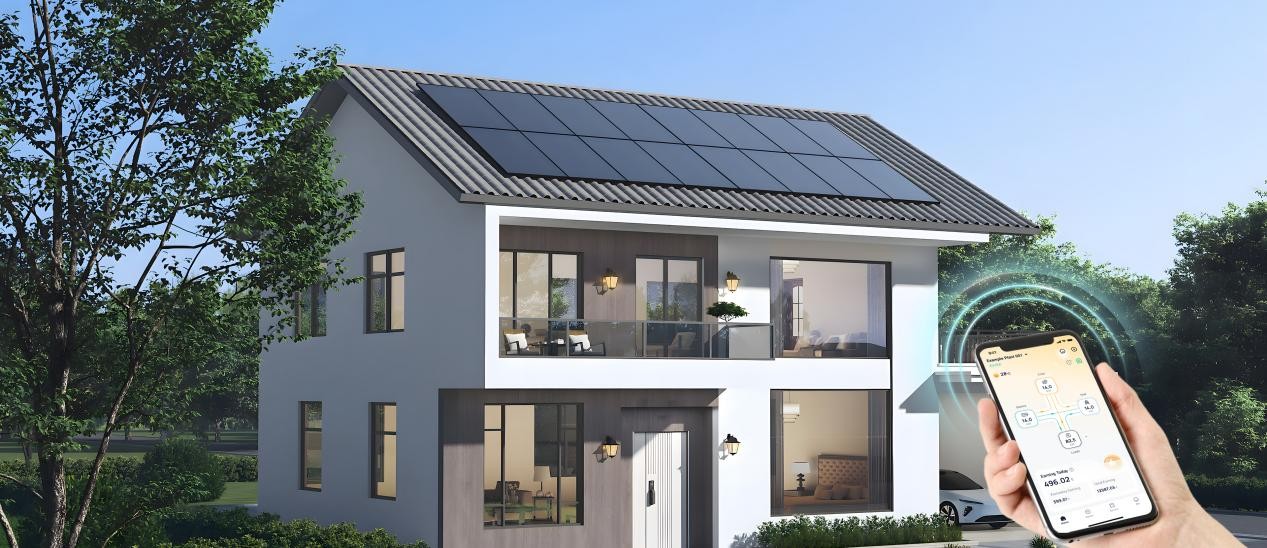
Use the inverter's monitoring system to check the output and ensure proper functionality. Our platform, SolaX Cloud, provides real-time performance tracking through an APP or web interface. Combined with our smart energy management solutions, you can efficiently monitor, analyze, and optimize energy usage, ensuring the system operates at peak performance while maximizing energy savings.
Professional Inspection
It's a good idea to have a certified electrician or solar installer inspect your setup to ensure the system is safe and compliant with local regulations. With SolaX's global network of authorized installers, you can easily find professional local support for inspection, installation, and system certification.
Final Adjustments
Make any final adjustments as necessary. This could include adjusting the angle of the solar panels for optimal performance or tweaking the configuration in the monitoring system.
By following these detailed steps, you'll be well on your way to successfully installing a solar power inverter and harnessing the limitless energy of the sun. Not only will this reduce your carbon footprint, but it will also allow you to enjoy significant savings on your electricity bills. Happy solar powering!
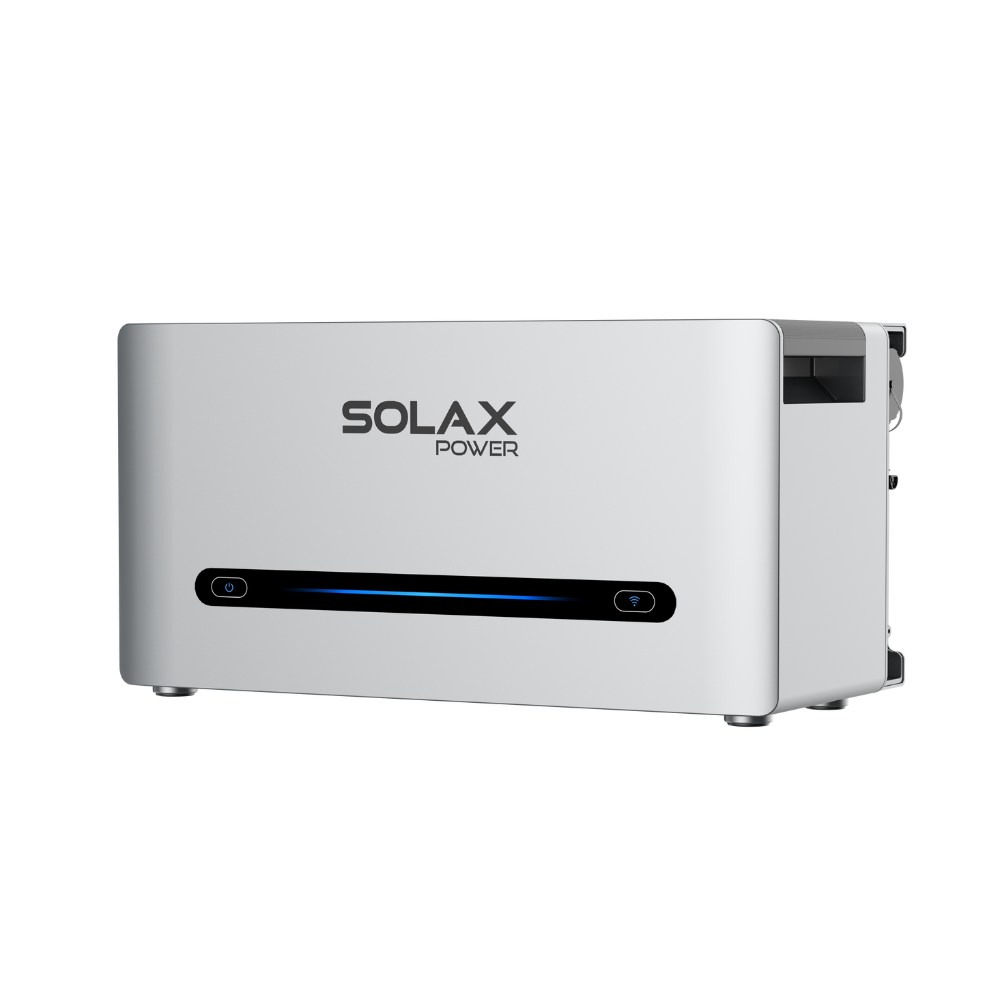
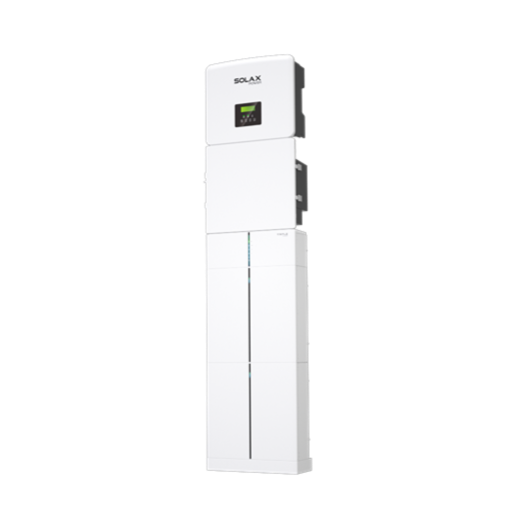
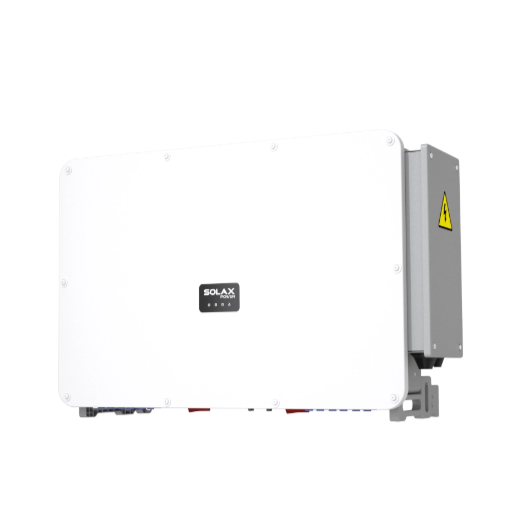
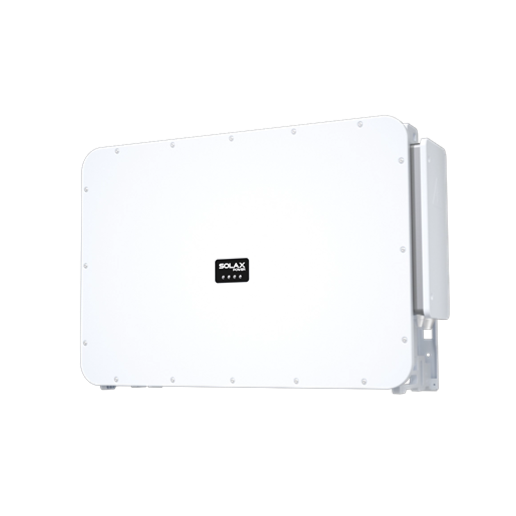
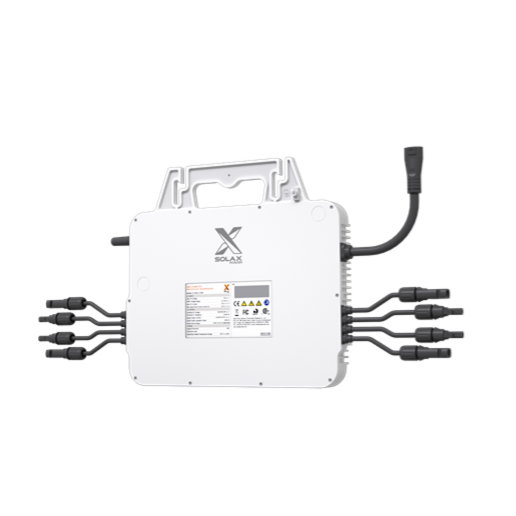
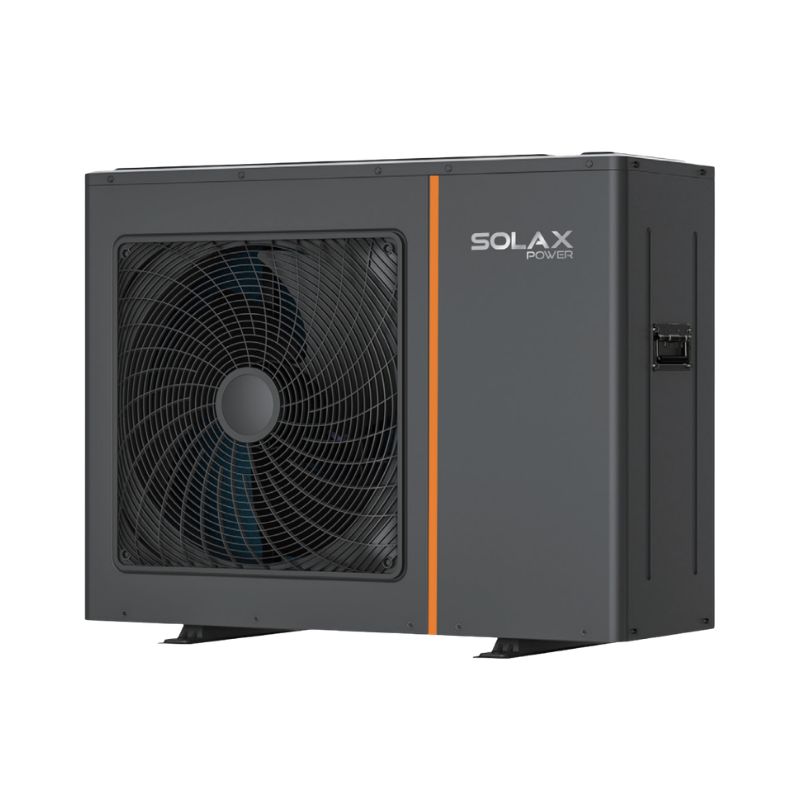
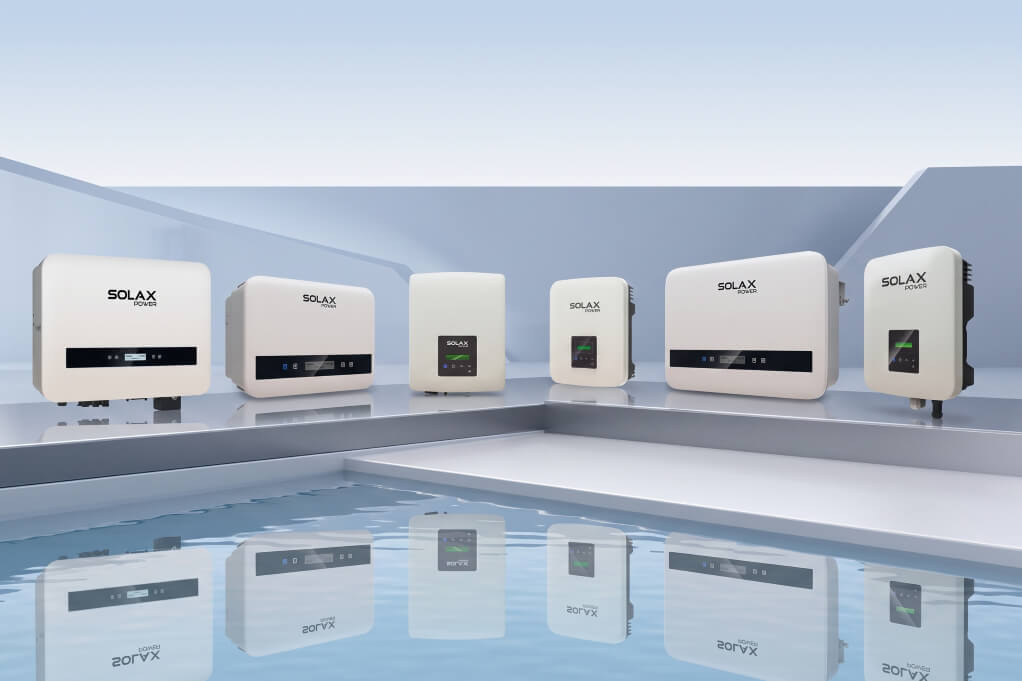
SolaX's Inverter Recommendation
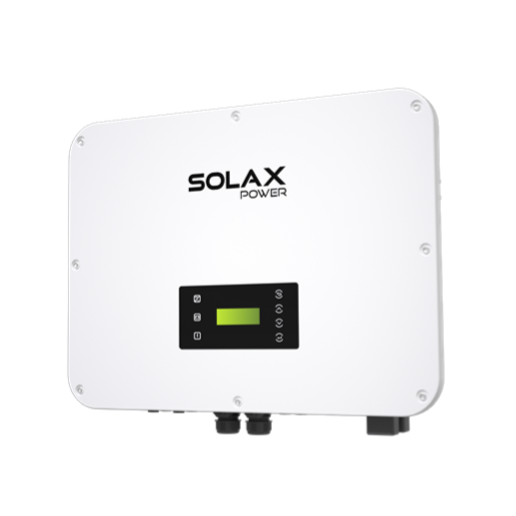
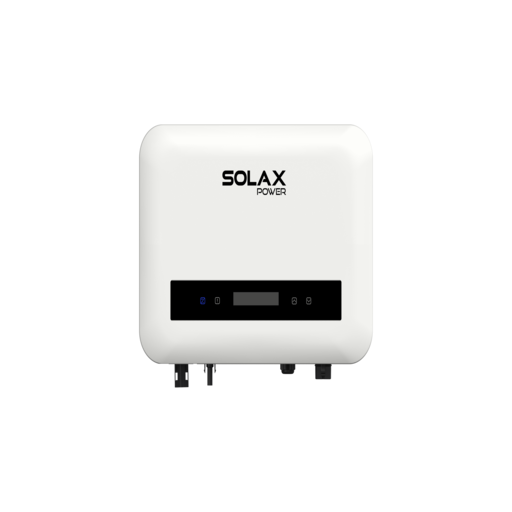
X1 Smart
The X1 Smart inverter offers enhanced performance with up to 99% efficiency and features like 150% DC oversizing and 110% AC overloading. It integrates easily into various setups, allowing for remote upgrades and maintenance. With a compact design, Smart X1 supports smart load management and has robust safety features including AFCI support.
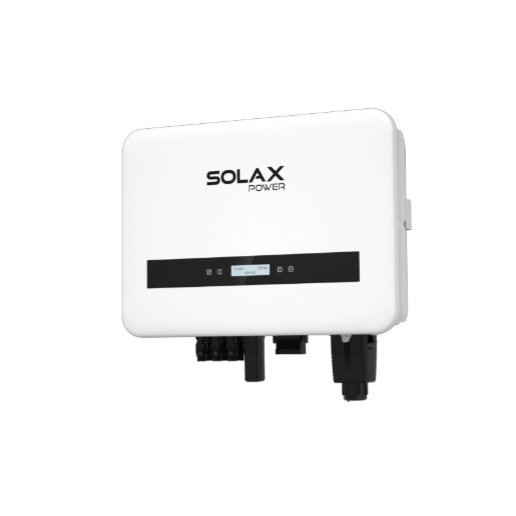
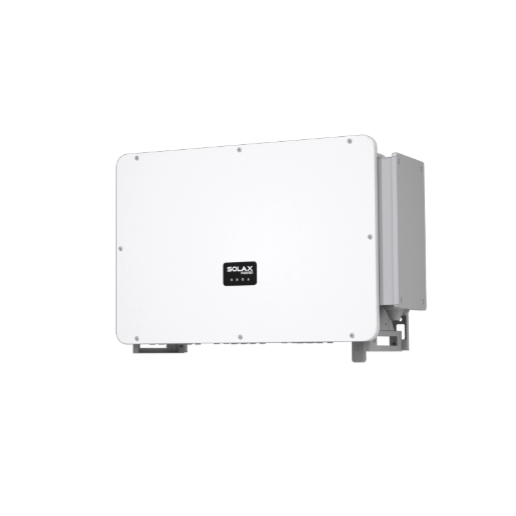
X3 Pro G2
The X3 Pro is a versatile three-phase inverter designed for high efficiency, reaching up to 98.5%. It supports up to 150% DC oversizing and features multiple MPPT trackers for optimized energy capture. The intelligent design of SolaX X3 Pro includes 24-hour monitoring and easy installation, making it suitable for both residential and commercial applications.
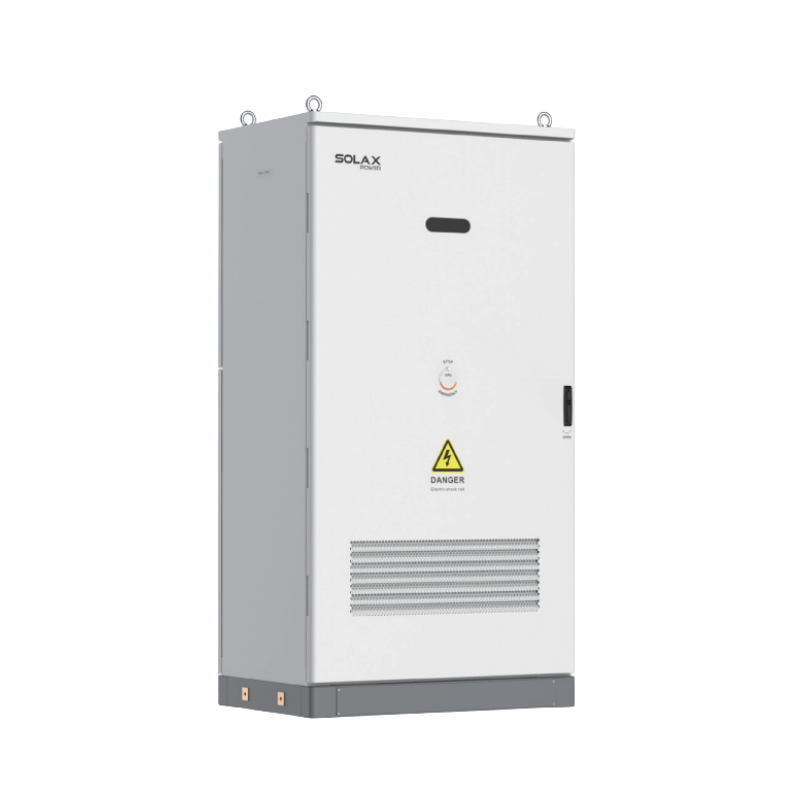
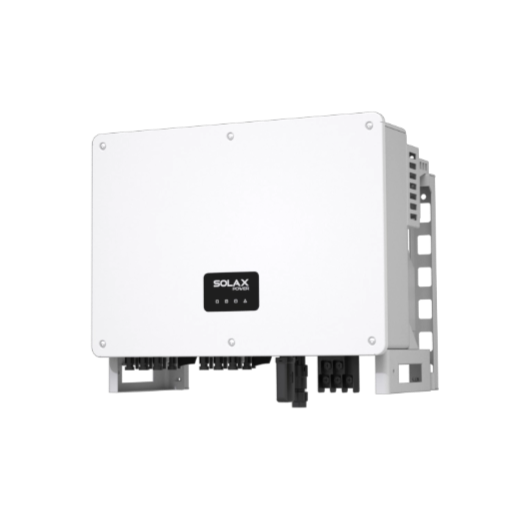
X3 Forth Plus
The X3 Forth Plus excels in high-capacity applications with power ratings up to 150kW and 99% efficiency. It features six MPPTs for precise power management and is built to operate in extreme conditions. Its advanced safety measures include IP66 protection and optional Anti-PID protection, making it ideal for large-scale commercial installations.
The X1 Smart is perfect for residential setups, focusing on ease of installation and smart energy management. The X3 Mic Pro stands out for its versatility in various applications with a balance of efficiency and performance. The X3 Forth Plus is tailored for large-scale commercial needs, offering superior power management and safety features. Each inverter is designed to meet specific energy needs, highlighting SolaX's innovative approach to solar solutions.
Table of Contents
Latest News
Explore expert insights, practical guides, and the latest news on SolaX Power.


To the Latest Newsletter
Stay Ahead with the Latest SolaX Updates!
Subscribe
I have read and agree to Privacy Policy and User Terms